After you train a new custom model or AutoML Vision Edge model, you can use
A/B Testing to see how well the new model performs in real-world conditions,
compared to the model you already use. After you confirm that your new model is
an improvement, you can easily roll out the new model to all of your users,
without requiring an app update.
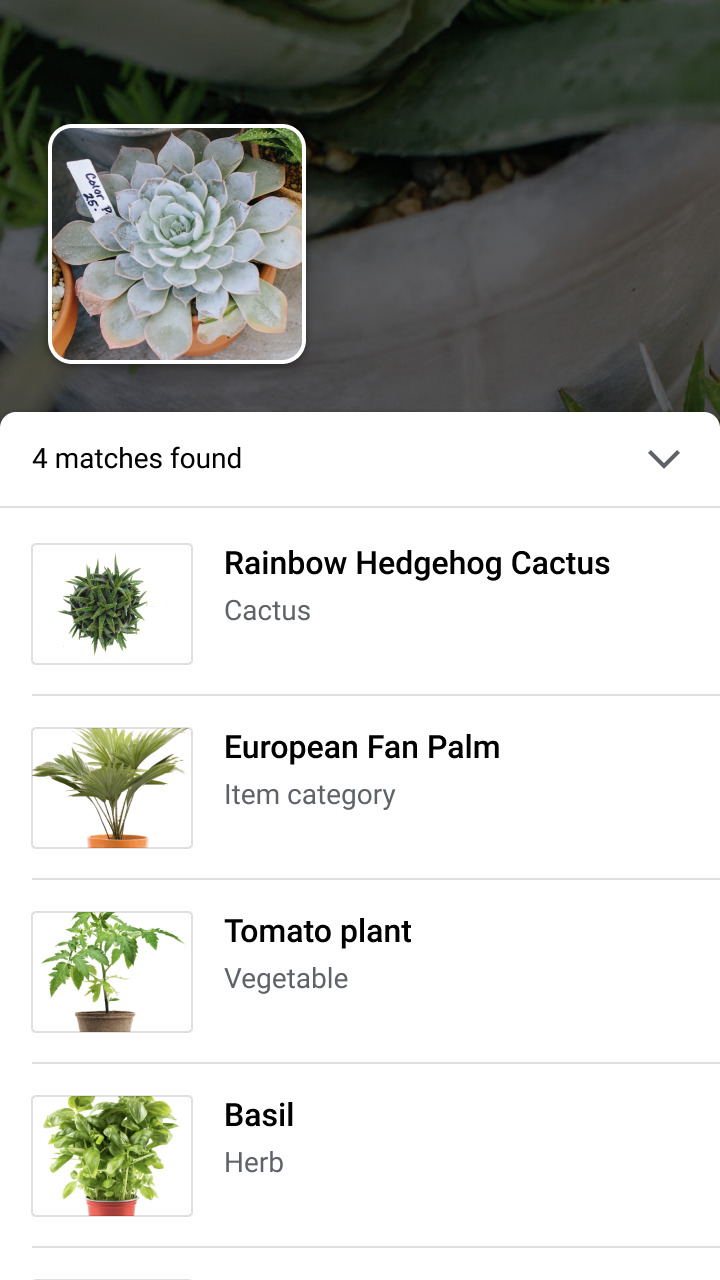
This page shows how you might conduct an A/B test that evaluates two versions
of a model that powers a hypothetical visual plant search feature. This feature
uses a custom image labeling model to help users identify plant species from
images of them.
Suppose you just published a new plant labeling model,
plant_labeler_v2
and you want to run an experiment that compares it
with your current model, named
plant_labeler_v1
. The steps below
show how to set up the experiment, run it, and take action on the results.
1. Make your model remotely configurable
The first step to A/B testing your models is to modify your app to use a
Remote Config parameter to determine which model it uses. Initially, you
will set the default value of this parameter to be the model that your app
already uses, but because the model name is controlled by a remotely
configurable parameter, you can change and experiment with different models
without having to push app updates to your users every time.
So, if you published your current model under the name
plant_labeler_v1
, you would, in your app initialization code, set
plant_labeler_v1
as the default value of the
plant_labeler_model
parameter, as in the following example:
Kotlin+KTX
val remoteConfig = FirebaseRemoteConfig.getInstance()

val remoteConfigDefaults = HashMap<String, Any>()
remoteConfigDefaults["plant_labeler_model"] = "plant_labeler_v1"
Tasks.await(remoteConfig.setDefaultsAsync(remoteConfigDefaults))

remoteConfig.fetchAndActivate().addOnSuccessListener { success ->
    if (success) {
      // Okay to get remote values.
      // ...
    }
}
Java
final FirebaseRemoteConfig remoteConfig = FirebaseRemoteConfig.getInstance();

Map<String, Object> remoteConfigDefaults = new HashMap<>();
remoteConfigDefaults.put("plant_labeler_model", "plant_labeler_v1");
Tasks.await(remoteConfig.setDefaultsAsync(remoteConfigDefaults));

remoteConfig.fetchAndActivate().addOnSuccessListener(
        new OnSuccessListener<Boolean>() {
            @Override
            public void onSuccess(Boolean success) {
                if (success) {
                  // Okay to get remote values.
                  // ...
                }
            }
        });
Then, change your model setup code to load the model specified by the
plant_labeler_model
parameter:
Kotlin+KTX
val rcValue = remoteConfig.getValue("plant_labeler_model")
val remoteModelName = rcValue.asString()

// ...

val remoteModel = FirebaseRemoteModel.Builder(remoteModelName)
        .enableModelUpdates(true)
        .setInitialDownloadConditions(initialConditions)
        .setUpdatesDownloadConditions(updateConditions)
        .build()
FirebaseModelManager.getInstance().registerRemoteModel(remoteModel)

// Optionally configure a local model:
// https://firebase.google.com/docs/ml-kit/android/label-images-with-automl#configure-a-local-model-source
// https://firebase.google.com/docs/ml-kit/android/use-custom-models#configure_a_local_model
Java
FirebaseRemoteConfigValue rcValue = remoteConfig.getValue("plant_labeler_model");
String remoteModelName = rcValue.asString();

// ...

FirebaseRemoteModel remoteModel = new FirebaseRemoteModel.Builder(remoteModelName)
        .enableModelUpdates(true)
        .setInitialDownloadConditions(initialConditions)
        .setUpdatesDownloadConditions(updateConditions)
        .build();
FirebaseModelManager.getInstance().registerRemoteModel(remoteModel);

// Optionally configure a local model:
// https://firebase.google.com/docs/ml-kit/android/label-images-with-automl#configure-a-local-model-source
// https://firebase.google.com/docs/ml-kit/android/use-custom-models#configure_a_local_model
Now that your app uses a Remote Config parameter to determine which model to
load, you can change the model just by publishing a new model and assigning its
name to the Remote Config parameter. This capability lets A/B Testing assign
different models to different users for the purpose of comparing them.
Before you continue, also make the following addition to your model download
code:
Kotlin+KTX
FirebaseModelManager.getInstance().downloadRemoteModelIfNeeded(remoteModel)
    .addOnSuccessListener {
        // If the model downloaded was specified by a remote parameter, log an
        // event, which will be our experiment's activation event.
        if (rcValue.source == FirebaseRemoteConfig.VALUE_SOURCE_REMOTE) {
            FirebaseAnalytics.getInstance(this).logEvent("nondefault_model_downloaded", null)
        }
    }
Java
FirebaseModelManager.getInstance().downloadRemoteModelIfNeeded(remoteModel)
        .addOnSuccessListener(new OnSuccessListener<Void>() {
            @Override
            public void onSuccess(Void aVoid) {
                // If the model downloaded was specified by a remote parameter, log an
                // event, which will be our experiment's activation event.
                if (rcValue.getSource() == FirebaseRemoteConfig.VALUE_SOURCE_REMOTE) {
                    FirebaseAnalytics.getInstance(YourActivity.this)
                            .logEvent("nondefault_model_downloaded", null);
                }
            }
        });
The above code logs a custom Analytics event that you will use later as your
experiment's
activation event
. An activation event is an event the
user must trigger before they are considered to be part of the experiment. This
ensures that users won't be recorded in your A/B test until their device has
finished downloading their custom ML Kit model.
2. Determine a goal metric
The next step is to decide how you will measure the success of your model,
and to make sure your app is collecting the data necessary to test how well
different versions of the model perform according to that metric.
A/B Testing has several built-in metrics, including revenue, daily
engagement, and user retention. These metrics are often useful for testing
different UX flows or fine-tuning parameters, but might not make sense for
evaluating your model and use case. In this situation, you can instead try to
optimize for a custom Analytics event.
Using the hypothetical visual plant search feature as an example, suppose you
presented search results to your user in the order of the model's confidence in
each result. One way you could get an idea of your model's accuracy would be by
looking at how often users opened the first search result.
To test which model best achieved the goal of maximizing top result clicks,
you would log a custom event whenever a user tapped the first item in the result
list.
Kotlin+KTX
FirebaseAnalytics.getInstance(this).logEvent("first_result_opened", null)
Java
FirebaseAnalytics.getInstance(YourActivity.this).logEvent("first_result_opened", null);
The metric you test for ultimately depends on how your app uses your
model.
At this point, you can deploy your app to the Play Store. Your app will continue to use your original model,
but the Remote Config and Analytics code you added will let you experiment
with different models using only the Firebase console.
3. Run an A/B Testing experiment
Now that your app is in your users' hands and is collecting analytics data,
create an A/B Testing experiment that tests the effect of using your new
model instead of the current model.
To create the experiment:
-
On the
Events
page of the Firebase console, verify you are logging the relevant
Analytics events: the activation event and goal metric.
Your app needs to log each event at least once before it appears in the
Firebase console.
-
In the Firebase console, open the
A/B Testing
section.
-
Create a new experiment:
Click
Create experiment > Remote Config
.
-
In the
Targeting
section:
- Choose your app from the list
- Specify how many of your users you want to include in the
experiment
- Select the activation event you started logging (in this example,
nondefault_model_downloaded
)
-
In the
Goals
section, choose the goal metric you determined in
the previous section (in this example,
first_result_opened
)
from the list of goal metrics, and select any additional metrics you
want to track, such as purchase revenue or crash-free users.
-
In the
Variants
section, define two variants:
- Control group (created automatically)
- Experimental plant labeler
For the
Control group
, create a
plant_labeler_model
parameter and set it to
plant_labeler_v1
. Users assigned to the control group
will use the old model. (Don't set the parameter to
(no
          change)
, since in your app, you're testing that you're using a
remote value.)
For the
Experimental plant labeler
variant, set the
plant_labeler_model
parameter to
plant_labeler_v2
(assuming you published your new model
under that name). Users assigned to this variant will use the new
model.

Start the experiment and let it run for several days or more, until
A/B Testing declares a leader. If the experiment cannot determine a leader,
you might need to
expand the experiment to more users
.
4. Roll out the winning variant to all users

After A/B Testing has collected enough information to declare a
leader?in this case, the variant that maximized top search result
clicks?you can decide whether to roll out the winning variant (or another
variant) to all of your users.
In the
A/B Testing
section of the
Firebase console
, open the details
view of the completed experiment. From this view, you can see how each variant
performed according to your goal metric and any secondary metrics you selected.
With this information, you can decide whether to roll out the leading variant or
another variant.
To roll out a variant to all users, click
more_vert
> Roll out variant
on the
experiment's details page. Once you do so, the value of the
plant_labeler_model
parameter will be
plant_labeler_v2
for all users.
In a future app update, you should change the default value of the
plant_labeler_model
parameter to
plant_labeler_v2
and update the bundled
model if you use one. Your users are already using the latest model, though, so
you can push this update as part of the published app whenever it's convenient,
such as when you next make a feature update.
