The MVC, MVP, and MVVM Smackdown
The
best practices
approach for organizing Android applications into logical components has evolved over the last few years. The community has largely moved away from the monolithic Model View Controller (MVC) pattern in favor of more modular, testable patterns.
Model View Presenter (MVP) & Model View ViewModel (MVVM) are two of the the most widely adopted alternatives, but developers are often divided as to which one better fits with Android. There have been numerous blog posts over the past year or so strongly advocating for one over the other, but often these turn into arguments of opinion over objective criteria. Rather than squabble about which approach is better, this article looks objectively at the value and potential issues with all three approaches so you can make an informed decision for yourself.
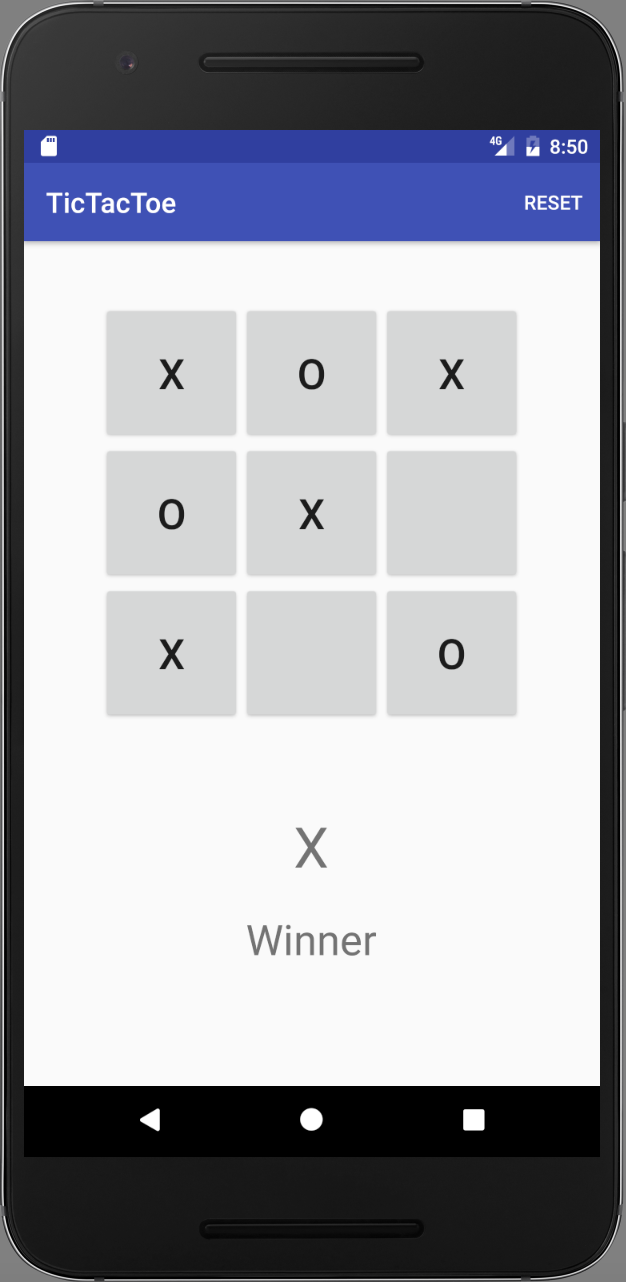
To help us see each pattern in action, we use a simple Tic-Tac-Toe game.
The remainder of this post steps through the MVC, MVP, and MVVM patterns in order. At the beginning of each section we start with a common definition of the major components and responsibilities and then see how that applies to our game.
The source code for the demo is available at
GitHub repository
. To follow along in code, check out the branch for the section you’re reading (e.g. git checkout mvc, git checkout mvp, git checkout mvvm).
MVC
The model, view, controller approach separates your application at a macro level into 3 sets of responsibilities.
Model
The model is the
Data + State + Business logic
of our Tic-Tac-Toe application. It’s the brains of our application so to speak. It is not tied to the view or controller, and because of this, it is reusable in many contexts.
View
The view is the
Representation
of the Model. The view has a responsibility to render the User Interface (UI) and communicate to the controller when the user interacts with the application. In MVC architecture, Views are generally pretty “dumb” in that they have no knowledge of the underlying model and no understanding of state or what to do when a user interacts by clicking a button, typing a value, etc. The idea is that the less they know the more loosely coupled they are to the model and therefore the more flexible they are to change.
Controller
The controller is
Glue
that ties the app together. It’s the master controller for what happens in the application. When the View tells the controller that a user clicked a button, the controller decides how to interact with the model accordingly. Based on data changing in the model, the controller may decide to update the state of the view as appropriate. In the case of an Android application, the controller is almost always represented by an Activity or Fragment.
Get more development news like this
Here’s what that looks like at a high level in our Tic Tac Toe app and the classes that play each part.

Let’s examine the controller in more detail.
public
 class
 TicTacToeActivity
 extends
 AppCompatActivity
 {


    private
 Board
 model
;


    /* View Components referenced by the controller */

    private
 ViewGroup
 buttonGrid
;

    private
 View
 winnerPlayerViewGroup
;

    private
 TextView
 winnerPlayerLabel
;


    /**
     * In onCreate of the Activity we lookup & retain references to view components
     * and instantiate the model.
     */

    @Override

    protected
 void
 onCreate
(
Bundle
 savedInstanceState
)
 {

        super
.
onCreate
(
savedInstanceState
);

        setContentView
(
R
.
layout
.
tictactoe
);

        winnerPlayerLabel
 =
 (
TextView
)
 findViewById
(
R
.
id
.
winnerPlayerLabel
);

        winnerPlayerViewGroup
 =
 findViewById
(
R
.
id
.
winnerPlayerViewGroup
);

        buttonGrid
 =
 (
ViewGroup
)
 findViewById
(
R
.
id
.
buttonGrid
);


        model
 =
 new
 Board
();

    }


    /**
     * Here we inflate and attach our reset button in the menu.
     */

    @Override

    public
 boolean
 onCreateOptionsMenu
(
Menu
 menu
)
 {

        MenuInflater
 inflater
 =
 getMenuInflater
();

        inflater
.
inflate
(
R
.
menu
.
menu_tictactoe
,
 menu
);

        return
 true
;

    }

    /**
     *  We tie the reset() action to the reset tap event.
     */

    @Override

    public
 boolean
 onOptionsItemSelected
(
MenuItem
 item
)
 {

        switch
 (
item
.
getItemId
())
 {

            case
 R
.
id
.
action_reset
:

                reset
();

                return
 true
;

            default
:

                return
 super
.
onOptionsItemSelected
(
item
);

        }

    }


    /**
     *  When the view tells us a cell is clicked in the tic tac toe board,
     *  this method will fire. We update the model and then interrogate it's state
     *  to decide how to proceed.  If X or O won with this move, update the view
     *  to display this and otherwise mark the cell that was clicked.
     */

    public
 void
 onCellClicked
(
View
 v
)
 {


        Button
 button
 =
 (
Button
)
 v
;


        int
 row
 =
 Integer
.
valueOf
(
tag
.
substring
(
0
,
1
));

        int
 col
 =
 Integer
.
valueOf
(
tag
.
substring
(
1
,
2
));


        Player
 playerThatMoved
 =
 model
.
mark
(
row
,
 col
);


        if
(
playerThatMoved
 !=
 null
)
 {

            button
.
setText
(
playerThatMoved
.
toString
());

            if
 (
model
.
getWinner
()
 !=
 null
)
 {

                winnerPlayerLabel
.
setText
(
playerThatMoved
.
toString
());

                winnerPlayerViewGroup
.
setVisibility
(
View
.
VISIBLE
);

            }

        }


    }


    /**
     * On reset, we clear the winner label and hide it, then clear out each button.
     * We also tell the model to reset (restart) it's state.
     */

    private
 void
 reset
()
 {

        winnerPlayerViewGroup
.
setVisibility
(
View
.
GONE
);

        winnerPlayerLabel
.
setText
(
""
);


        model
.
restart
();


        for
(
 int
 i
 =
 0
;
 i
 <
 buttonGrid
.
getChildCount
();
 i
++
 )
 {

            ((
Button
)
 buttonGrid
.
getChildAt
(
i
)).
setText
(
""
);

        }

    }

}
Evaluation
MVC does a great job of separating the model and view. Certainly the model can be easily tested because it’s not tied to anything and the view has nothing much to test at a unit testing level. The Controller has a few problems however.
Controller Concerns
-
Testability
- The controller is tied so tightly to the Android APIs that it is difficult to unit test.
-
Modularity & Flexibility
- The controllers are tightly coupled to the views. It might as well be an extension of the view. If we change the view, we have to go back and change the controller.
-
Maintenance
- Over time, particularly in applications with
anemic models
, more and more code starts getting transferred into the controllers, making them bloated and brittle.
How can we address this? MVP to the rescue!
MVP
MVP breaks the controller up so that the natural view/activity coupling can occur without tying it to the rest of the “controller” responsibilities. More on this below, but let’s start again with a common definition of responsibilities as compared to MVC.
Model
Same as MVC / No change
View
The only change here is that the Activity/Fragment is now considered part of the view. We stop fighting the natural tendency for them to go hand in hand. Good practice is to have the Activity implement a view interface so that the presenter has an interface to code to. This eliminates coupling it to any specific view and allows simple unit testing with a mock implementation of the view.
Presenter
This is essentially the controller from MVC except that it is not at all tied to the View, just an interface. This addresses the testability concerns as well as the modularity/flexibility concerns we had with MVC.
In fact, MVP purists would argue that the presenter should never have any references to any Android APIs or code.
Let’s again examine what that looks like in our app.

Looking at the Presenter in more detail below, the first thing you’ll notice is how much simpler and clearer the intent of each action is. Rather than telling the view how to display something, it just tells it what to display.
public
 class
 TicTacToePresenter
 implements
 Presenter
 {


    private
 TicTacToeView
 view
;

    private
 Board
 model
;


    public
 TicTacToePresenter
(
TicTacToeView
 view
)
 {

        this
.
view
 =
 view
;

        this
.
model
 =
 new
 Board
();

    }


    // Here we implement delegate methods for the standard Android Activity Lifecycle.

    // These methods are defined in the Presenter interface that we are implementing.

    public
 void
 onCreate
()
 {
 model
 =
 new
 Board
();
 }

    public
 void
 onPause
()
 {
 }

    public
 void
 onResume
()
 {
 }

    public
 void
 onDestroy
()
 {
 }


    /**
     * When the user selects a cell, our presenter only hears about
     * what was (row, col) pressed, it's up to the view now to determine that from
     * the Button that was pressed.
     */

    public
 void
 onButtonSelected
(
int
 row
,
 int
 col
)
 {

        Player
 playerThatMoved
 =
 model
.
mark
(
row
,
 col
);


        if
(
playerThatMoved
 !=
 null
)
 {

            view
.
setButtonText
(
row
,
 col
,
 playerThatMoved
.
toString
());


            if
 (
model
.
getWinner
()
 !=
 null
)
 {

                view
.
showWinner
(
playerThatMoved
.
toString
());

            }

        }

    }


    /**
     *  When we need to reset, we just dictate what to do.
     */

    public
 void
 onResetSelected
()
 {

        view
.
clearWinnerDisplay
();

        view
.
clearButtons
();

        model
.
restart
();

    }

}
To make this work without tying the activity to the presenter we create an interface that the Activity implements. In a test, we’ll create a mock based on this interface to test interactions with the view from the presenter.
public
 interface
 TicTacToeView
 {

    void
 showWinner
(
String
 winningPlayerDisplayLabel
);

    void
 clearWinnerDisplay
();

    void
 clearButtons
();

    void
 setButtonText
(
int
 row
,
 int
 col
,
 String
 text
);

}
Evaluation
This is much cleaner. We can easily unit test the presenter logic because it’s not tied to any Android specific views and APIs and that also allows us to work with any other view as long as the view implements the
TicTacToeView
interface.
Presenter Concerns
-
Maintenance
- Presenters, just like Controllers, are prone to collecting additional business logic, sprinkled in, over time. At some point, developers often find themselves with large unwieldy presenters that are difficult to break apart.
Of course, the careful developer can help to prevent this, by diligently guarding against this temptation as the application changes over time. However, MVVM can help address this by doing less to start.
MVVM
MVVM with
Data Binding on Android
has the benefits of easier testing and modularity, while also reducing the amount of glue code that we have to write to connect the view + model.
Let’s examine the parts of MVVM.
Model
Same as MVC / No change
View
The view binds to observable variables and actions exposed by the viewModel in a flexible way. More on that in minute.
ViewModel
The ViewModel is responsible for wrapping the model and preparing observable data needed by the view. It also provides hooks for the view to pass events to the model. The ViewModel is not tied to the view however.
High level breakdown for Tic Tac Toe.

Let’s take a closer look at the some of the moving parts here, starting with the ViewModel.
public
 class
 TicTacToeViewModel
 implements
 ViewModel
 {


    private
 Board
 model
;


    /*
     * These are observable variables that the viewModel will update as appropriate
     * The view components are bound directly to these objects and react to changes
     * immediately, without the ViewModel needing to tell it to do so. They don't
     * have to be public, they could be private with a public getter method too.
     */

    public
 final
 ObservableArrayMap
<
String
,
 String
>
 cells
 =
 new
 ObservableArrayMap
<>();

    public
 final
 ObservableField
<
String
>
 winner
 =
 new
 ObservableField
<>();


    public
 TicTacToeViewModel
()
 {

        model
 =
 new
 Board
();

    }


    // As with presenter, we implement standard lifecycle methods from the view

    // in case we need to do anything with our model during those events.

    public
 void
 onCreate
()
 {
 }

    public
 void
 onPause
()
 {
 }

    public
 void
 onResume
()
 {
 }

    public
 void
 onDestroy
()
 {
 }


    /**
     * An Action, callable by the view.  This action will pass a message to the model
     * for the cell clicked and then update the observable fields with the current
     * model state.
     */

    public
 void
 onClickedCellAt
(
int
 row
,
 int
 col
)
 {

        Player
 playerThatMoved
 =
 model
.
mark
(
row
,
 col
);

        cells
.
put
(
""
 +
 row
 +
 col
,
 playerThatMoved
 ==
 null
 ?

                                                     null
 :
 playerThatMoved
.
toString
());

        winner
.
set
(
model
.
getWinner
()
 ==
 null
 ?
 null
 :
 model
.
getWinner
().
toString
());

    }


    /**
     * An Action, callable by the view.  This action will pass a message to the model
     * to restart and then clear the observable data in this ViewModel.
     */

    public
 void
 onResetSelected
()
 {

        model
.
restart
();

        winner
.
set
(
null
);

        cells
.
clear
();

    }


}
A couple excerpts from the
view
to see how these variables and actions are bound.
<!--
    With Data Binding, the root element is <layout>.  It contains 2 things.
    1. <data> - We define variables to which we wish to use in our binding expressions and
                import any other classes we may need for reference, like android.view.View.
    2. <root layout> - This is the visual root layout of our view.  This is the root xml tag in the MVC and MVP view examples.
-->

<layout
 xmlns:android=
"http://schemas.android.com/apk/res/android"

    xmlns:tools=
"http://schemas.android.com/tools"

    xmlns:app=
"http://schemas.android.com/apk/res-auto"
>


    <!-- We will reference the TicTacToeViewModel by the name viewModel as we have defined it here. -->

    <data>

        <import
 type=
"android.view.View"
 />

        <variable
 name=
"viewModel"
 type=
"com.acme.tictactoe.viewmodel.TicTacToeViewModel"
 />

    </data>

    <LinearLayout...>

        <GridLayout...>

            <!-- onClick of any cell in the board, the button clicked will invoke the onClickedCellAt method with its row,col -->

            <!-- The display value comes from the ObservableArrayMap defined in the ViewModel  -->

            <Button

                style=
"@style/tictactoebutton"

                android:onClick=
"@{() -> viewModel.onClickedCellAt(0,0)}"

                android:text=
'@{viewModel.cells["00"]}'
 />

            ...

<Button

                style=
"@style/tictactoebutton"

                android:onClick=
"@{() -> viewModel.onClickedCellAt(2,2)}"

                android:text=
'@{viewModel.cells["22"]}'
 />

        </GridLayout>


        <!-- The visibility of the winner view group is based on whether or not the winner value is null.
             Caution should be used not to add presentation logic into the view.  However, for this case
             it makes sense to just set visibility accordingly.  It would be odd for the view to render
             this section if the value for winner were empty.  -->

        <LinearLayout...

            android:visibility=
"@{viewModel.winner != null ? View.VISIBLE : View.GONE}"

            tools:visibility=
"visible"
>


            <!-- The value of the winner label is bound to the viewModel.winner and reacts if that value changes -->

            <TextView

                ...

                android:text=
"@{viewModel.winner}"

                tools:text=
"X"
 />

            ...

</LinearLayout>

    </LinearLayout>

</layout>
Pro Tip:
Make heavy use of the tools attributes. Notice it’s used in the above example for the display value of the winner and the visibility setting. If you don’t set these, it can be hard to see at design time what is going on.
A side note about MVVM and Data Binding on Android. This just scratches the surface on what you can do with Data Binding. I highly encourage you to check out the
Android Data Binding
documentation to learn more about this powerful tool. There is also a link at the bottom of this page to the Google Android Architecture Blueprints project page for some more great examples of MVVM & Data Binding.
Evaluation
Unit testing is even easier now, because you really have no dependency on the view. When testing, you only need to verify that the observable variables are set appropriately when the model changes. There is no need to mock out the view for testing as there was with the MVP pattern.
MVVM Concerns
-
Maintenance
- Since views can bind to both variables and expressions, extraneous presentation logic can creep in over time, effectively adding code to our XML. To avoid this, always get values directly from the ViewModel rather than attempt to compute or derive them in the views binding expression. This way the computation can be unit tested appropriately.
Conclusions
Both MVP and MVVM do a better job than MVC in breaking down your app into modular, single purpose components, but they also add more complexity to your app. For a very simple application with only one or two screens, MVC may work just fine. MVVM with data binding is attractive as it follows a more reactive programming model and produces less code.
So which pattern is best for you? If you’re choosing between MVP and MVVM, a lot of the decision comes down to personal preference, but seeing them in action will help you understand the benefits and tradeoffs.
If you’re interested in seeing more examples of MVP and MVVM in practice, I’d encourage you check out the
Google Architecture Blueprints
project. There are also many blog posts which delve deeper into proper MVP implementation.
About the content
This content has been published here with the express permission of the author.
